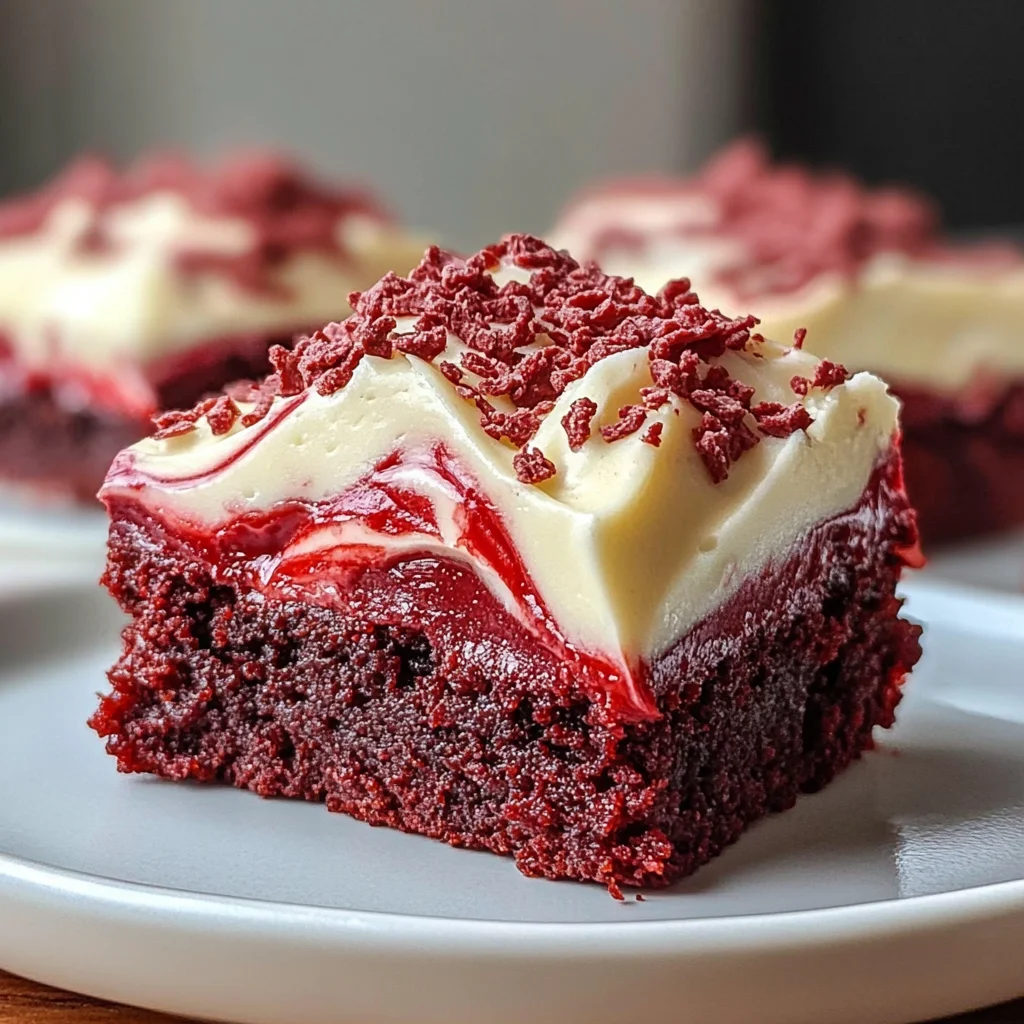
Red Velvet Brownies
These chewy red velvet brownies are a delightful treat for any occasion! With their vibrant color and rich flavor, they stand out on dessert tables, making them perfect for birthdays, holidays, or just a cozy night in. Topped with luscious cream cheese frosting, these brownies can even be made dairy-free to accommodate food allergies. Everyone will love the indulgent taste and texture of these red velvet brownies!
Why You’ll Love This Recipe
- Rich Flavor: The combination of cocoa powder and vanilla creates a decadent taste that pairs beautifully with the cream cheese frosting.
- Easy to Make: Simple ingredients and straightforward steps make these brownies a breeze to whip up, even for beginners.
- Dairy-Free Option: Easily adapt this recipe for those with dietary restrictions by using dairy-free alternatives without sacrificing flavor.
- Perfect for Sharing: Cut into squares for a delightful treat that’s easy to share at gatherings or parties.
- Visually Stunning: The deep red color makes these brownies a showstopper on any dessert table.
Tools and Preparation
To make your baking experience smooth, gather the essential tools beforehand. This will help you prepare everything quickly so you can focus on making delicious red velvet brownies.
Essential Tools and Equipment
- 8×8 square baking pan
- Parchment paper
- Medium-sized mixing bowl
- Whisk or electric mixer
- Spatula
- Toothpick
Importance of Each Tool
- 8×8 square baking pan: This size is ideal for evenly baking your brownies, ensuring they cook through without burning.
- Parchment paper: Lining the pan with parchment makes it easy to remove the brownies later without sticking.
- Whisk or electric mixer: Helps achieve a smooth batter by thoroughly combining all ingredients quickly.
Ingredients
These chewy red velvet brownies are topped with the best cream cheese frosting! Plus, you can easily make these red velvet brownies dairy-free so they’re perfect if you have food allergies!
- 3/4 cup butter, melted (regular or dairy free)
- 3/4 cup light brown sugar
- 1 cup granulated sugar
- 2 eggs
- 1 tbsp vanilla extract
- ½ teaspoon liquid red food coloring (SEE NOTES)
- 1½ teaspoon white vinegar
- ¼ cup cocoa powder
- 1/4 tsp salt
- 1 cup + 3 tbsp all-purpose flour (SEE NOTES)
- 4 oz plain cream cheese, room temperature (SEE NOTES IF DAIRY FREE)
- ¼ cup butter, softened (dairy free or regular)
- ½ teaspoon vanilla extract
- pinch of salt
- 1½-2 cups powdered sugar (icing sugar)
- 2 Tablespoons cornstarch (ONLY IF DAIRY FREE, SEE NOTES)
How to Make Red Velvet Brownies
Step 1: Preheat the Oven
Preheat the oven to 350°F and line an 8×8 square baking pan with parchment paper. Leave parchment paper hanging over the sides of the pan so that you can easily remove the brownies from the pan later.
Step 2: Melt the Butter
Melt the butter in the microwave or in a small pan over the stove. Transfer the melted butter to a medium-sized bowl.
Step 3: Combine Sugars and Butter
Add in both the sugars and use a whisk to whisk the butter and sugars together. Keep whisking until the mixture resembles a paste that pulls away cleanly from the side of the bowl when you mix it.
Step 4: Mix in Eggs and Color
Add the eggs, vinegar, vanilla extract, and red food coloring into the mixture. Mix again until fully combined. Depending on your food coloring brand, you can adjust the amount for more vibrancy.
Step 5: Add Dry Ingredients
Pour in the dry ingredients: cocoa powder, salt, and flour. Mix gently with a whisk until just combined; this should only take about one minute.
Step 6: Pour Batter into Pan
Pour the batter into your lined baking pan using a spatula to scrape all batter out of your bowl.
Step 7: Bake Brownies
Bake for 30–40 minutes. Start checking at 30 minutes by inserting a toothpick into the middle. The top should be crinkly; if there are only wet crumbs on your toothpick, they’re ready!
Step 8: Cool & Prepare Frosting
While cooling, make your cream cheese frosting by following additional steps below.
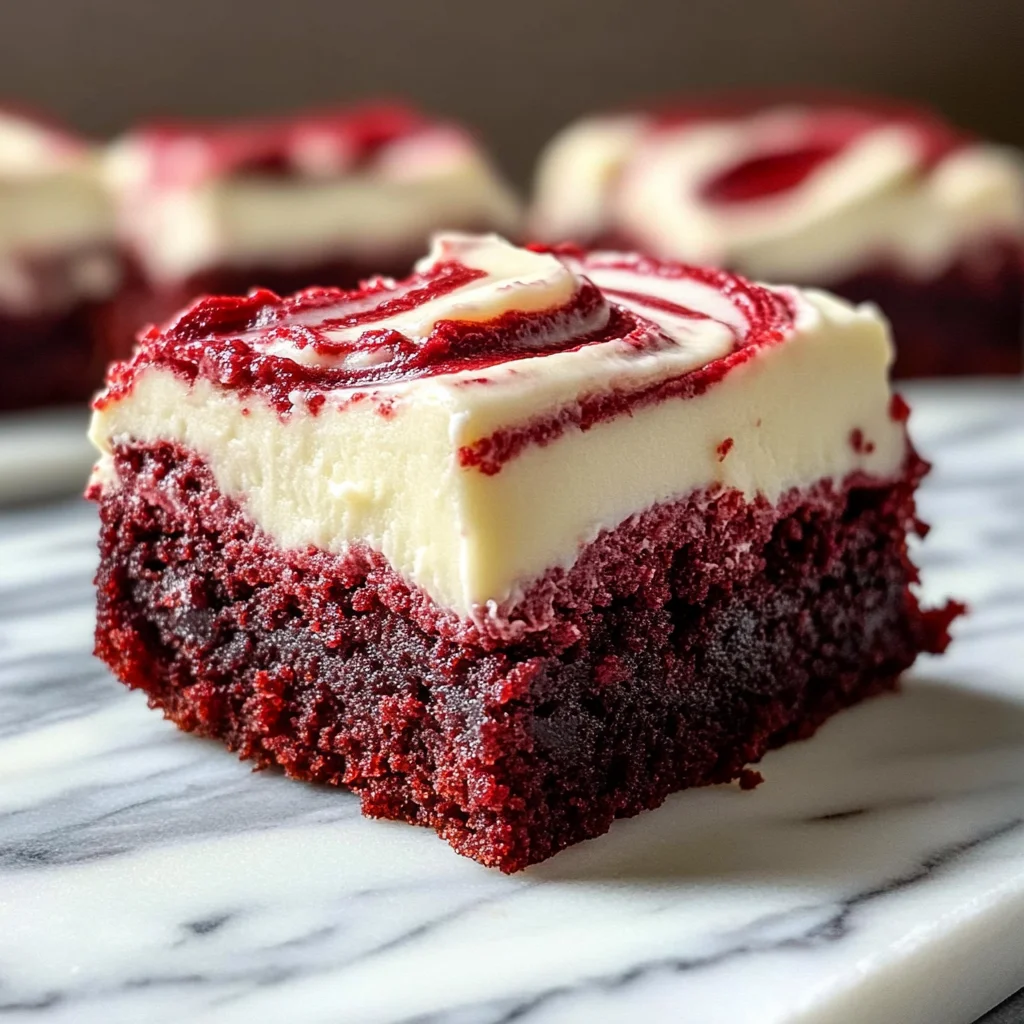
How to Serve Red Velvet Brownies
Serving red velvet brownies is as much about presentation as it is about taste. These deliciously chewy brownies topped with cream cheese frosting can be enjoyed in various ways to enhance their appeal.
Share with Friends
- Invite friends over for a dessert night and serve the brownies warm with a scoop of vanilla ice cream.
Pair with Coffee
- Enjoy your red velvet brownies alongside a hot cup of coffee or espresso for a delightful afternoon treat.
Create a Dessert Platter
- Arrange the brownies on a platter with fresh berries and mint leaves for an elegant touch at parties.
Add Fresh Fruit
- Top each brownie with sliced strawberries or raspberries to provide a fresh contrast to the rich flavors.
Make Mini Brownie Bites
- Cut the brownies into smaller squares for bite-sized treats that are perfect for gatherings or events.
Drizzle with Chocolate Sauce
- Enhance the indulgence by drizzling melted chocolate or caramel sauce over the frosted brownies before serving.
How to Perfect Red Velvet Brownies
To achieve the ultimate red velvet brownies, consider these essential tips. Following these guidelines will ensure your brownies turn out perfect every time.
- Use quality ingredients: Opt for high-quality cocoa powder and pure vanilla extract to elevate the flavor profile.
- Check baking time: Keep an eye on your brownies as they bake; removing them while slightly underbaked ensures they stay moist.
- Let cool completely: Allowing the brownies to cool completely before frosting prevents the cream cheese from melting into the batter.
- Experiment with color: Adjust the amount of food coloring based on your desired shade of red, but remember that less can sometimes be more.
- Store properly: To keep them fresh, wrap leftovers in plastic wrap and refrigerate. This helps retain moisture and flavor.
- Try different frostings: While cream cheese frosting is classic, consider alternatives like whipped cream or ganache for variety.
Best Side Dishes for Red Velvet Brownies
Red velvet brownies pair well with various side dishes that complement their rich flavors. Here are some great options:
-
Vanilla Ice Cream
A classic pairing that adds creamy richness and balances the brownie’s flavors beautifully. -
Fresh Berries
Strawberries or raspberries add a burst of freshness and acidity that cuts through the sweetness of the brownies. -
Whipped Cream
Light and airy, whipped cream enhances the texture and offers a pleasant contrast to dense brownies. -
Coffee or Espresso
A strong coffee enhances the chocolate notes in red velvet brownies, making for a satisfying dessert experience. -
Chocolate Sauce
Drizzling warm chocolate sauce over your brownies creates an indulgent treat that chocolate lovers will adore. -
Nutty Trail Mix
A crunchy trail mix offers a fun textural contrast, adding nuts and dried fruits that complement the sweetness of the dessert. -
Caramel Sauce
Sweet caramel adds another layer of flavor and richness, perfect for those who enjoy decadent desserts. -
Coconut Whipped Cream
For a dairy-free option, coconut whipped cream provides a tropical twist while remaining light and fluffy.
Common Mistakes to Avoid
Making red velvet brownies can be simple, but a few common mistakes can lead to less-than-perfect results. Avoid these pitfalls for the best outcome!
- Using cold ingredients: Starting with cold eggs or butter can affect the texture of your brownies. Always use room temperature ingredients for a smoother batter.
- Overmixing the batter: Mixing too much after adding flour can make your brownies tough. Stir just until the ingredients are combined for a chewy texture.
- Not measuring accurately: Baking is a science, and inaccurate measurements can ruin your brownies. Use measuring cups and spoons for precise amounts.
- Ignoring baking time: Checking your brownies too late or too early can lead to overbaking or underbaking. Start checking at 30 minutes and watch closely after that.
- Skipping the cooling step: Frosting warm brownies will lead to a melty mess. Let them cool completely before adding the cream cheese frosting.
Storage & Reheating Instructions
Refrigerator Storage
- Store brownies in an airtight container.
- They will last about 4-5 days in the fridge.
Freezing Red Velvet Brownies
- Wrap brownies tightly in plastic wrap, then place them in a freezer-safe bag.
- They can be frozen for up to 3 months.
Reheating Red Velvet Brownies
- Oven: Preheat to 350°F, wrap brownies in foil, and heat for about 10 minutes.
- Microwave: Heat individual pieces on medium power for about 15-20 seconds until warm.
- Stovetop: Place a brownie in a skillet over low heat for a few minutes, covered with a lid.
Frequently Asked Questions
Here are some common questions about making red velvet brownies that you might find helpful!
Can I make Red Velvet Brownies dairy-free?
Yes! Simply substitute regular butter and cream cheese with dairy-free alternatives.
What gives Red Velvet Brownies their color?
The bright red color comes from liquid red food coloring, which enhances the cocoa flavor while giving it that signature hue.
How do I know when my Red Velvet Brownies are done?
Insert a toothpick into the center; it should come out with moist crumbs but not wet batter.
Can I add nuts to my Red Velvet Brownies?
Absolutely! Chopped walnuts or pecans can add delightful texture and flavor.
How should I store leftover Red Velvet Brownies?
Store them in an airtight container in the refrigerator for up to 5 days or freeze them for longer storage.
Final Thoughts
These red velvet brownies are not just delicious; they also offer flexibility for various dietary needs, including dairy-free options. You can customize them by adding nuts or adjusting the frosting to your liking. Give this recipe a try and experience its rich flavors and satisfying textures!
Red Velvet Brownies
Indulge in the ultimate dessert experience with these delightful Red Velvet Brownies! Their chewy texture and vibrant color make them an eye-catching addition to any dessert table. Topped with a luscious cream cheese frosting, these brownies are perfect for celebrations, cozy nights in, or simply satisfying your sweet tooth. Whether you’re hosting a birthday party or enjoying a quiet evening at home, this easy-to-follow recipe offers a dairy-free option to accommodate various dietary needs. With their rich flavor and visually stunning appearance, these decadent treats will quickly become a favorite among friends and family.
- Prep Time: 15 minutes
- Cook Time: 35 minutes
- Total Time: 50 minutes
- Yield: Approximately 16 servings 1x
- Category: Dessert
- Method: Baking
- Cuisine: American
Ingredients
- 3/4 cup butter (regular or dairy-free)
- 3/4 cup light brown sugar
- 1 cup granulated sugar
- 2 eggs
- 1 tbsp vanilla extract
- ½ tsp liquid red food coloring
- 1½ tsp white vinegar
- ¼ cup cocoa powder
- 1 cup + 3 tbsp all-purpose flour
- Cream cheese frosting ingredients
Instructions
- Preheat the oven to 350°F and line an 8×8 baking pan with parchment paper.
- Melt the butter and combine it with both sugars until smooth.
- Mix in eggs, vinegar, vanilla extract, and red food coloring until fully combined.
- Gently fold in dry ingredients: cocoa powder, salt, and flour.
- Pour the batter into the prepared pan and bake for 30–40 minutes or until a toothpick comes out clean.
- Cool completely before adding cream cheese frosting.
Nutrition
- Serving Size: 1 serving
- Calories: 230
- Sugar: 20g
- Sodium: 150mg
- Fat: 10g
- Saturated Fat: 6g
- Unsaturated Fat: 4g
- Trans Fat: 0g
- Carbohydrates: 32g
- Fiber: 1g
- Protein: 3g
- Cholesterol: 35mg